Flat Roof Leak Repair In Harrisburg, PA Youtube
Sealants and Waterproofing Products
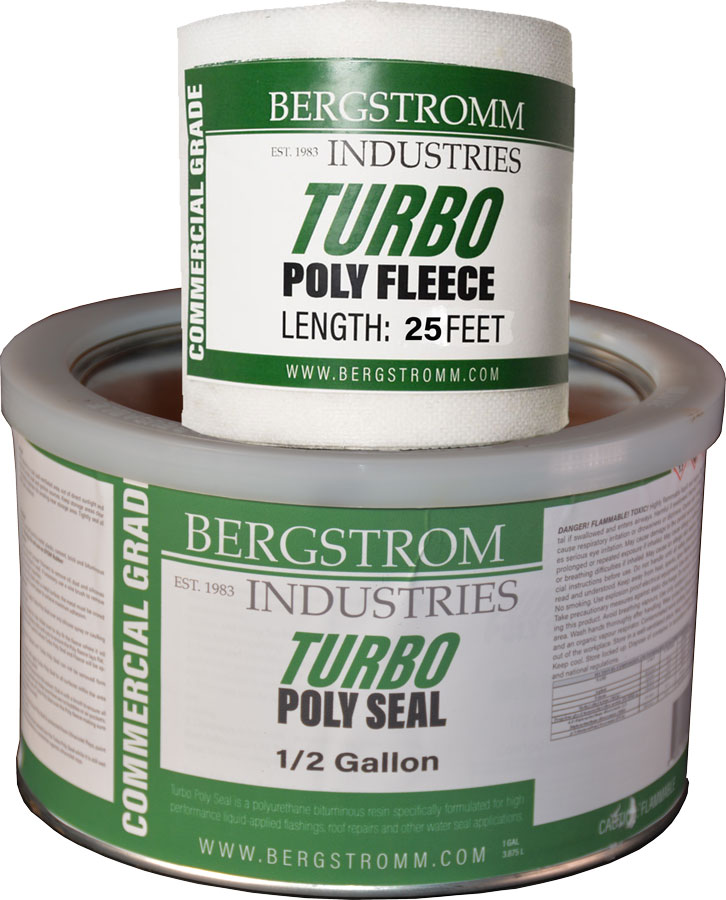
Turbo Poly Seal
Turbo Poly Seal is a flexible yet durable sealant for Metal Roof Repairs, chimney caps, flashing repairs, Flat Roof Leaks, concrete block cracks, and stucco sealing.
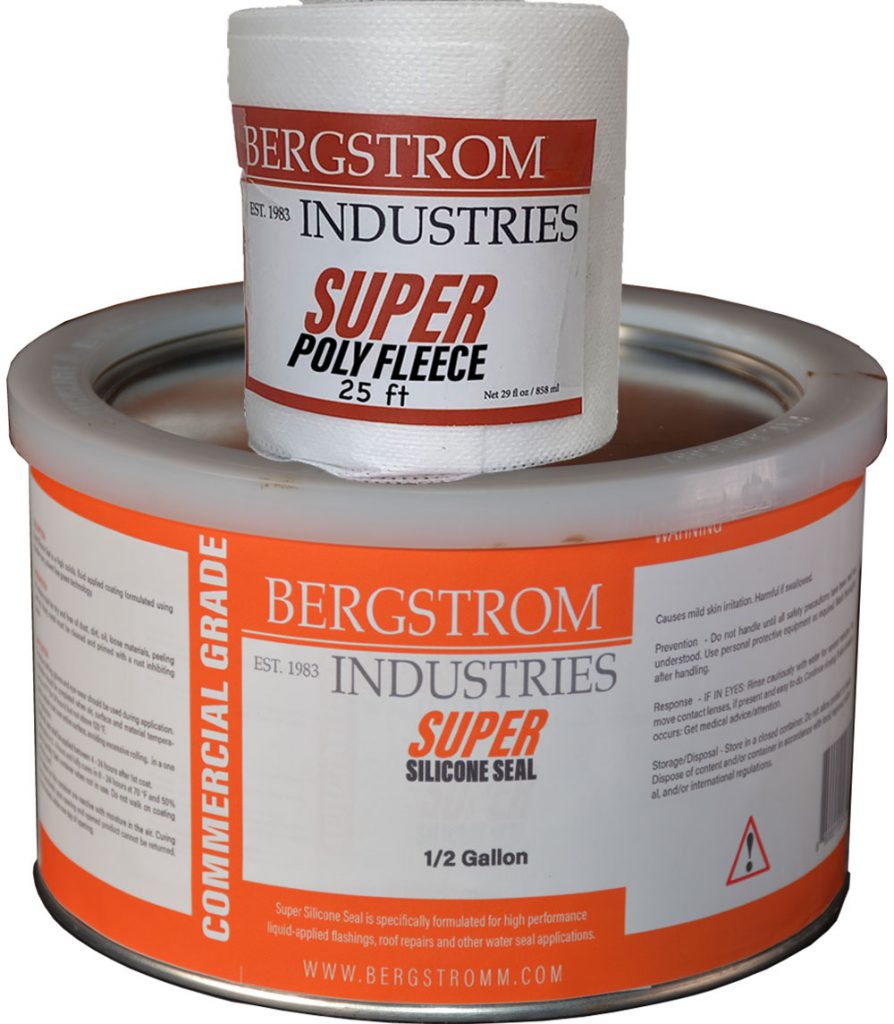
Super Silicone Seal
Super Silicone Seal is the only product that will seal leaks on EPDM Rubber Roofs, Skylights, Chimney caps, and flashing. UV rays do not affect this sealant. SSS can not be painted.
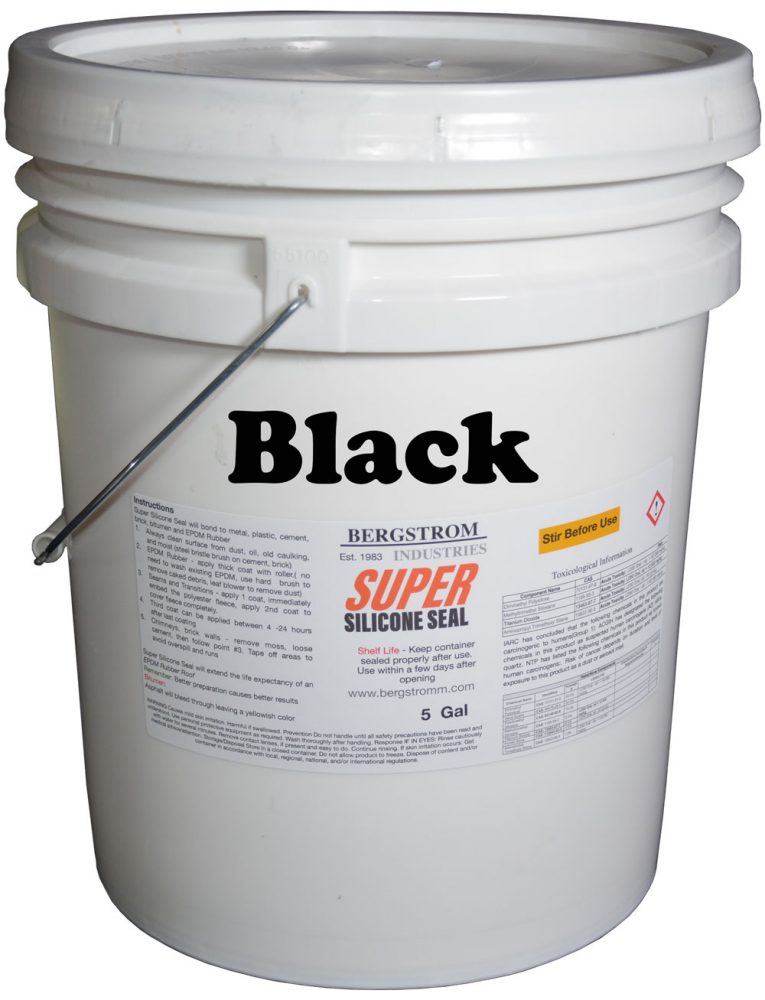
Black Super Silicone Seal
Super Silicone Seal is also available in 5-gallon containers if you need to coat the entire surface of an EPDM Rubber Roof. SSS can be bought in half-gallon and 1-gallon containers. For skylights, use 1/2 gallon of sealant.

Bad Shingles on a Mobile Home or Trailer Roof Leak Repair
DIY Truck Camper Roof Seal: Never Leak Again
Mobile Home Roof Leak Repair – transition from Carport/room to main roof
We helped a random guy fix his mobile home roof #mobilehomes
Mobile Home Roof Leak Repair #mobilehomes
My wife an I helped a random person stopping leaks on his Mobile Home Roof – see the results
Metal Roof Valley Leak Repair #diy #flatroofing
Why not coat a metal roof #diy #roofmaintenance #roofrepair
Watch this before you Coat your Metal Roof – shocking finds and How to Fix Seams
Silver Coating reduces the temperature by more than 60º F. and protects the roof against UVs
Shingle Roof Leak Repair – Church Roof leaking
EPDM Rubber Roof leak Repair #epdmroof #roofleaks https://bergstromm.com/
Services
Flat Roof Repair Sealants
Contact US
We provide Sealants and Waterproofing products in Harrisburg, PA.
Find Us
Get Information
Our Products are only sold on the website
Tel 203 858 0080
Call us if you have any questions